How to turn your Tiny Finch's helpdesk into a self-service support hub
If your website has visitors but no clear answers, you’re forcing people to search around in confusion. Some will message you, many won’t and will just leave.
Now imagine this simple scenario: a visitor has a question, opens the chat widget, and finds the answer instantly in your help articles. No chat, problem solved!
Now multiply that by dozens (or hundreds) of visitors. You stay focused on complex, high-value questions. Customers feel supported without waiting. Everybody gets what they need.
That’s how a well-filled helpdesk becomes a self-service support hub for you and your visitors.
Three ways a good helpdesk improves your support
The idea of a helpdesk is simple: every common customer question deserves a permanent home. For example, here are three questions Tiny Finch often receives : How do I install Tiny Finch?, How much does Tiny Finch cost per month?, and Does Tiny Finch have a free plan?
A visitor with any of these questions will get clear answers as soon as they open the chat widget on the Tiny Finch website .
Building a helpdesk, a repository of help articles, does three important things:
It increases meaningful conversations.
When visitors can find basic answers on their own, the messages you do receive are higher quality. Fewer “How does this work?” questions, more “Can this fit my use case?” conversations.
It reduces friction before contact.
People want to feel smart and in control. A helpdesk lets them self-serve, confirm details, and only reach out when they truly need help. That makes the experience smoother for everyone.
It saves you time without hurting user experience.
Repetitive questions consume valuable time. A helpdesk turns those repeated answers into reusable assets. You answer once, then let it fly on autopilot.
So, in short, a good helpdesk filters human interaction instead of replacing it.
How to create help articles on Tiny Finch
Tiny Finch keeps this part intentionally simple.
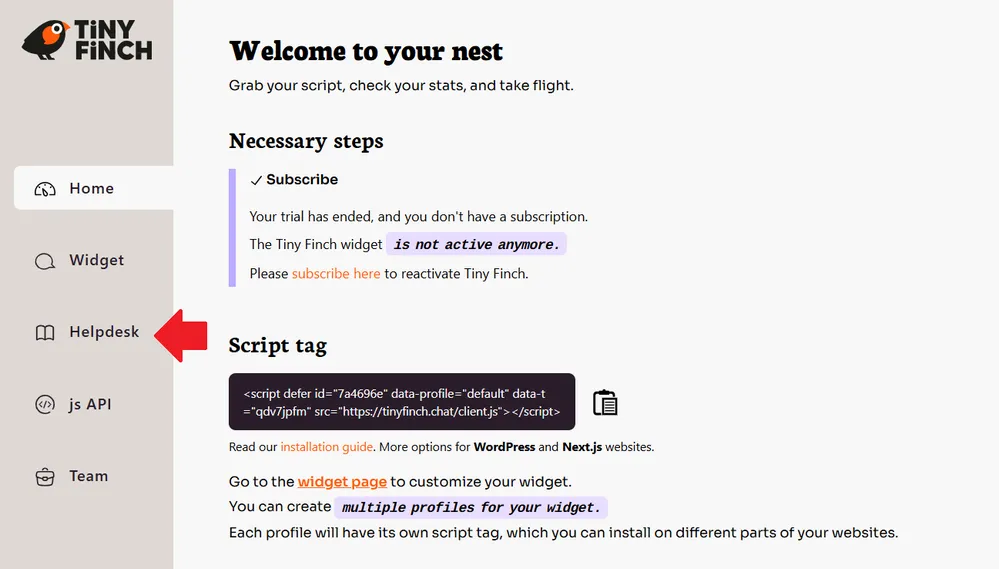
Step 1: Go to the helpdesk
Head to the helpdesk section in your Tiny Finch dashboard. This is where all your frequently asked questions neatly nested inside the widget.
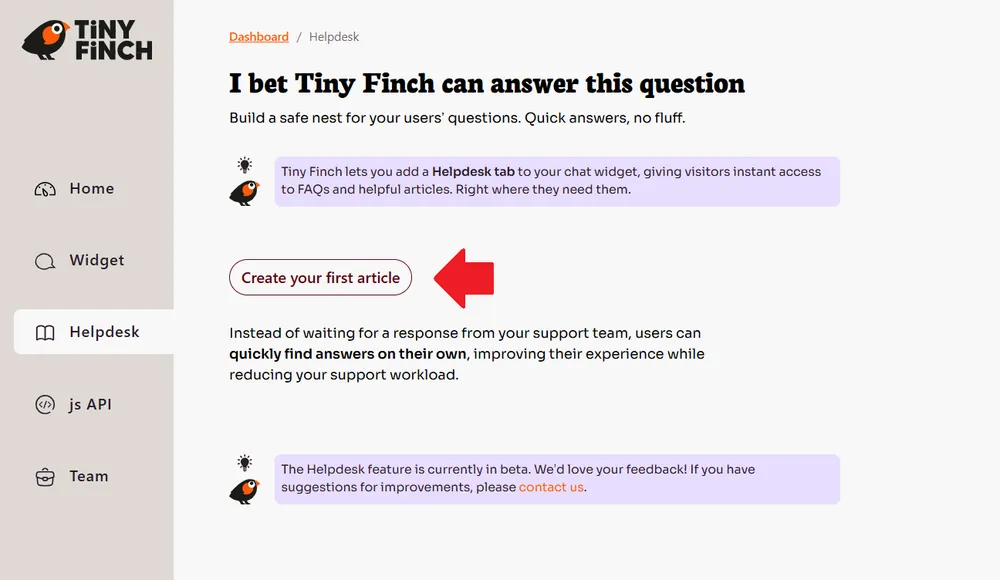
Step 2: Create a new article
Once you’re on the helpdesk page, click the Create an article button, or the Create your first article button if it is your first attempt. You’ll land on a clean editor with two fields and a save button.
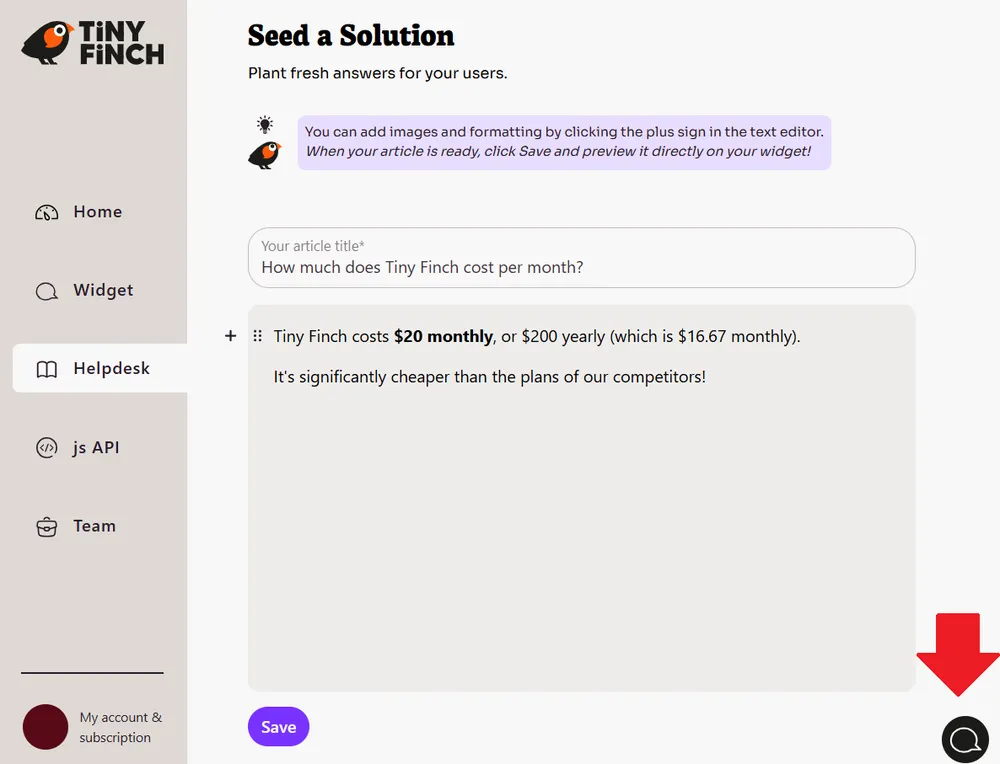
Start by writing a title in the Your article title field. The best rule of thumb is simple: one question equals one article. Use your visitors’ real questions as titles. For example, if a visitor asks about your service’s monthly pricing, your article title should be: How much does it cost per month?
Next, write the full answer in the Start writing your article here field. Keep it clear, compact, and focused on the question.
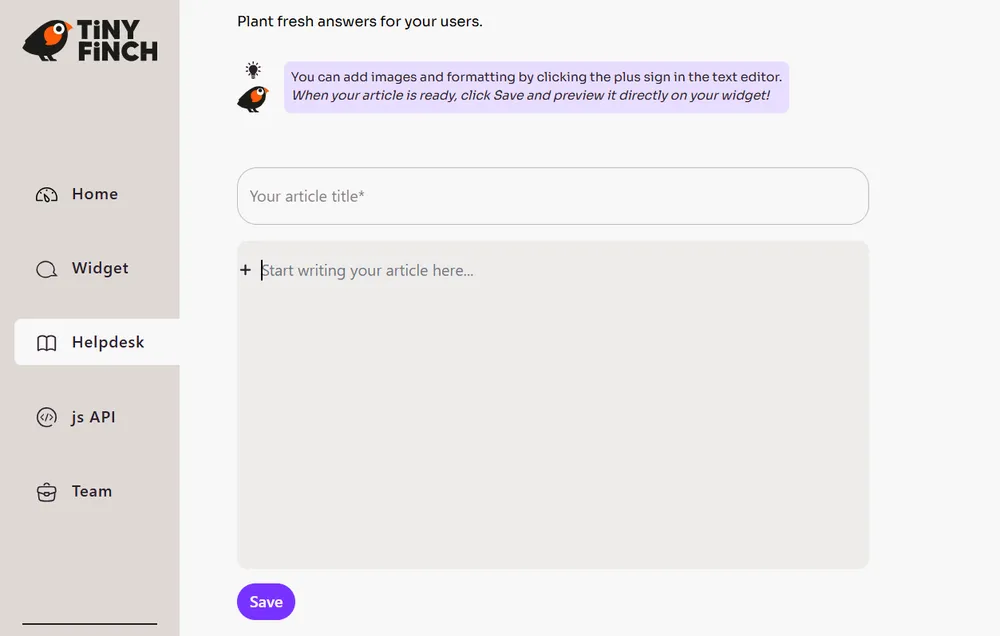
If you hover over the left edge of the writing field, you’ll see a plus (+) icon. Click it to add text, headings, lists, code blocks, or images. You can also format your content by double-clicking any text to make it bold or italic, add underlines or highlights, or insert links.
When you’re done, click Save. That’s it. Your article is ready and automatically available in your chat widget.
Step 3: See it live in the widget
To preview how visitors will experience it, open the live chat widget in the bottom-right corner of your screen and click the Help button at the top.
Your help articles will appear there. Clicking an article opens it directly inside the widget, with no page reload.